
10.28.2010
Fine Art Prints -Muertos Ladies
I'm working on a new series of fine art prints, done in watercolor, featuring Muertos Ladies. I'm really excited about this one, it should be a fun project. It draws inspiration from Sylvia Ji, pin up girls, and adult cartoon aspects- yet I'm keeping these ladies rated PG 13 for Calaveras's younger audience. Expect to see the first of it in my Etsy shop around Saturday!
10.17.2010
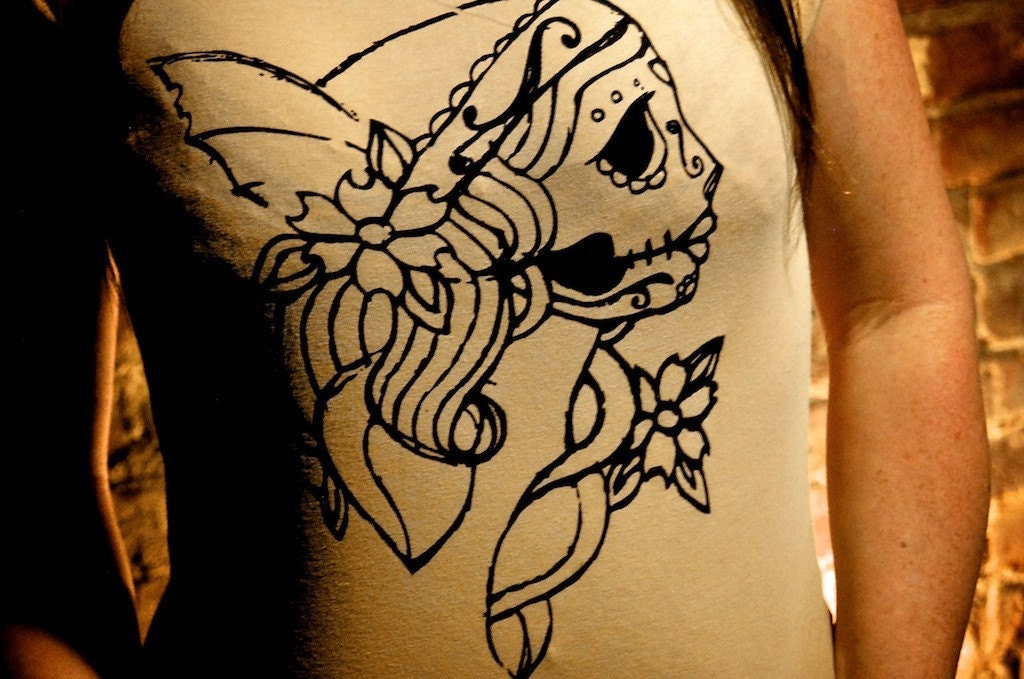
Muertos Gypsy Screenprinted Shirts
We have added some new merch to the Etsy shop! Shirts for women featured a new design, and some new Calaveras Logo shirts. Check them out and let us know what you think!
Also, we have a main site now up that features our Etsy shop and other online merchant details. You can check that out at here.
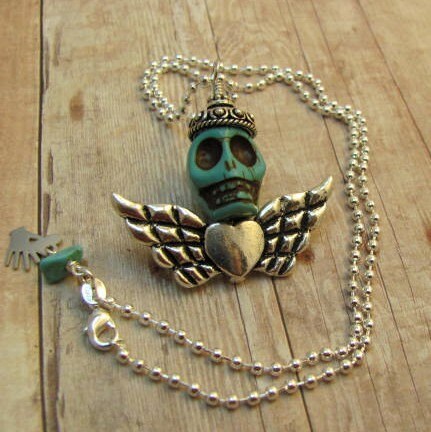
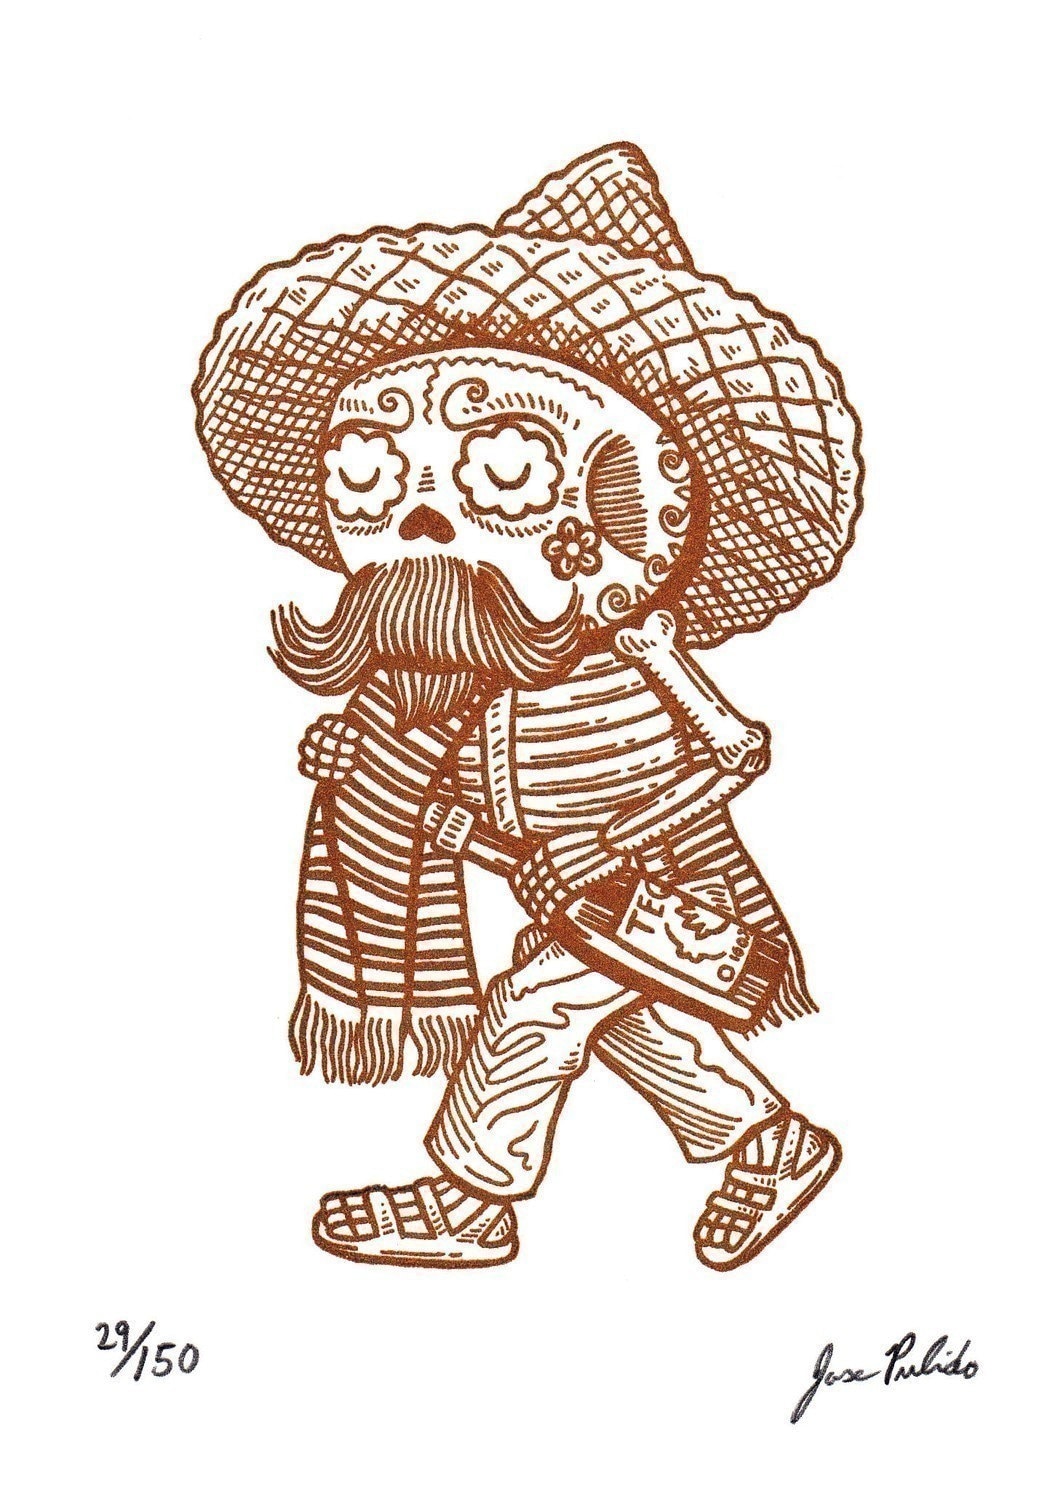
We also wanted to rep some fellow Dia de los Muertos artists, as well as fellow Etsy artists, so we put together a mini showcase for your viewing pleasure. Click on the photo to visit the Etsy store.

Also, we have a main site now up that features our Etsy shop and other online merchant details. You can check that out at here.
We also wanted to rep some fellow Dia de los Muertos artists, as well as fellow Etsy artists, so we put together a mini showcase for your viewing pleasure. Click on the photo to visit the Etsy store.
10.10.2010
Exciting News!
Calaveras is now on Zazzle and CafePress. We are only offering our logo and select designs (still to come) on the products in these stores, so you will still find the screenprinted unique items in our Etsy shop. But since we thought our logo looked pretty cool on that water bottle, and since we don't really have those capabilities, we couldn't resist. Please check these shops out in your free time, and let your friends who like Calaveras Apparel know :]
Zazzle Link
CafePress Link
Zazzle Link
CafePress Link
10.01.2010
Molding Tutorial Part 2
After a long unexpected hiatus, I am finally back and ready to post the second part of this tutorial. Hooray!
Take whatever object you have created out of Sculpey, or some other fairly non porous material, and set it down in the middle of the tin foil covered box you have made that fits it.

I am using the baby skull I created for this example. For the best results, your object should have a large flat side, because after we fill this box up with molding material, we need a way to pull out the object without destroying the mold. In this case, the base of the skull is flat, so that's how I orientated it in the box- flat side down.

Start mixing you mold material. The instructions come on the box of the OOMOO 30, and basically say to mix the two components in equal parts. But please be sure to read the directions fully before doing this, just so you know what to expect from the materials you are mixing.
 Thoroughly mix the components, and it should turn out this light purple color...
 Now this is the part where things start to get a little messy. Pour the mixture into the box with your object, trying not to displace the object from the center of the box.

It is important the object stays as close to the center of the box as possible so the resulting mold doesn't have weak walls in any part (if the mold is too thin in some parts, it tears more easily and only lasts for a few castings.)
 I used a pencil to make sure I hadn't displaced the skull (you are pretty much flying blind at this point in the process without feeling around with a pencil or something.) I did this as soon as the mold was poured as to not disturbed the curing process. Do it quickly so the mold can start to cure. It takes around 6 hours I believe to have a cured mold. Email me or leave comments with any questions you have about my process so far, and I'll try to the best of my knowledge to answer them. Next week I will describe my casting process, so please check back :D
Take whatever object you have created out of Sculpey, or some other fairly non porous material, and set it down in the middle of the tin foil covered box you have made that fits it.

I am using the baby skull I created for this example. For the best results, your object should have a large flat side, because after we fill this box up with molding material, we need a way to pull out the object without destroying the mold. In this case, the base of the skull is flat, so that's how I orientated it in the box- flat side down.

Start mixing you mold material. The instructions come on the box of the OOMOO 30, and basically say to mix the two components in equal parts. But please be sure to read the directions fully before doing this, just so you know what to expect from the materials you are mixing.
 Thoroughly mix the components, and it should turn out this light purple color...
 Now this is the part where things start to get a little messy. Pour the mixture into the box with your object, trying not to displace the object from the center of the box.
It is important the object stays as close to the center of the box as possible so the resulting mold doesn't have weak walls in any part (if the mold is too thin in some parts, it tears more easily and only lasts for a few castings.)
 I used a pencil to make sure I hadn't displaced the skull (you are pretty much flying blind at this point in the process without feeling around with a pencil or something.) I did this as soon as the mold was poured as to not disturbed the curing process. Do it quickly so the mold can start to cure. It takes around 6 hours I believe to have a cured mold. Email me or leave comments with any questions you have about my process so far, and I'll try to the best of my knowledge to answer them. Next week I will describe my casting process, so please check back :D
Subscribe to:
Posts (Atom)