
11.24.2010
Black Friday Sale!
Black Friday sale starts today! Enter coupon code BLACKFRIDAY for 10% your purchases from calaverasapparel.etsy.com. Sale ends on Sunday, so hurry!!
10.28.2010
Fine Art Prints -Muertos Ladies
I'm working on a new series of fine art prints, done in watercolor, featuring Muertos Ladies. I'm really excited about this one, it should be a fun project. It draws inspiration from Sylvia Ji, pin up girls, and adult cartoon aspects- yet I'm keeping these ladies rated PG 13 for Calaveras's younger audience. Expect to see the first of it in my Etsy shop around Saturday!
10.17.2010
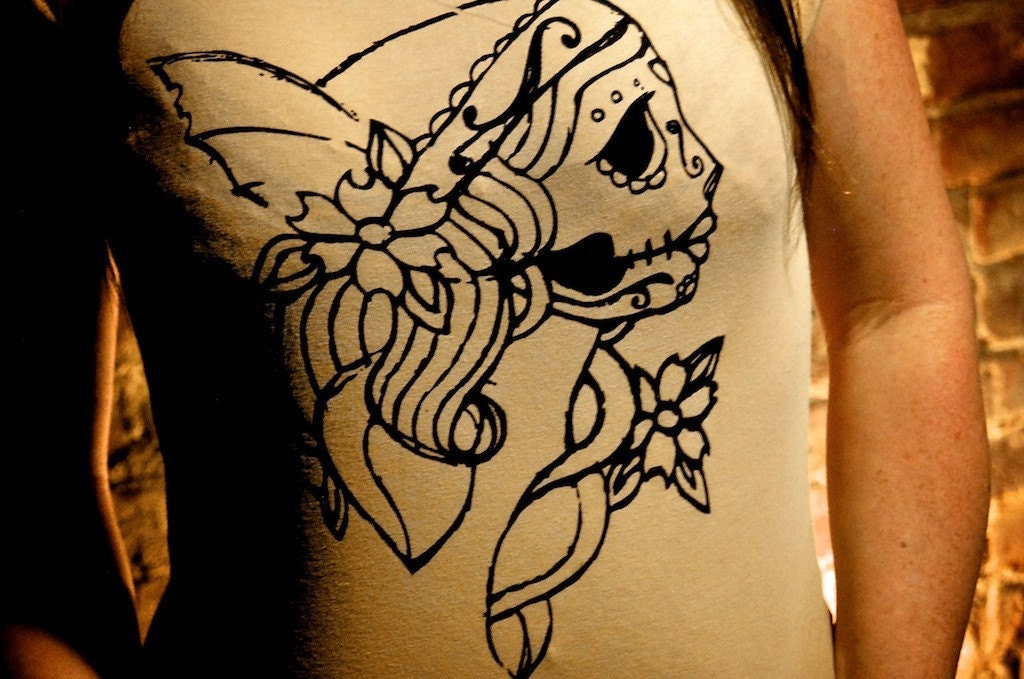
Muertos Gypsy Screenprinted Shirts
We have added some new merch to the Etsy shop! Shirts for women featured a new design, and some new Calaveras Logo shirts. Check them out and let us know what you think!
Also, we have a main site now up that features our Etsy shop and other online merchant details. You can check that out at here.
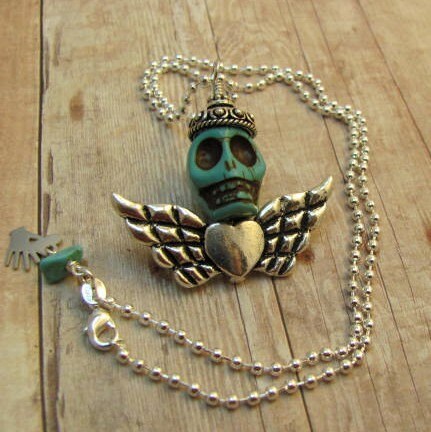
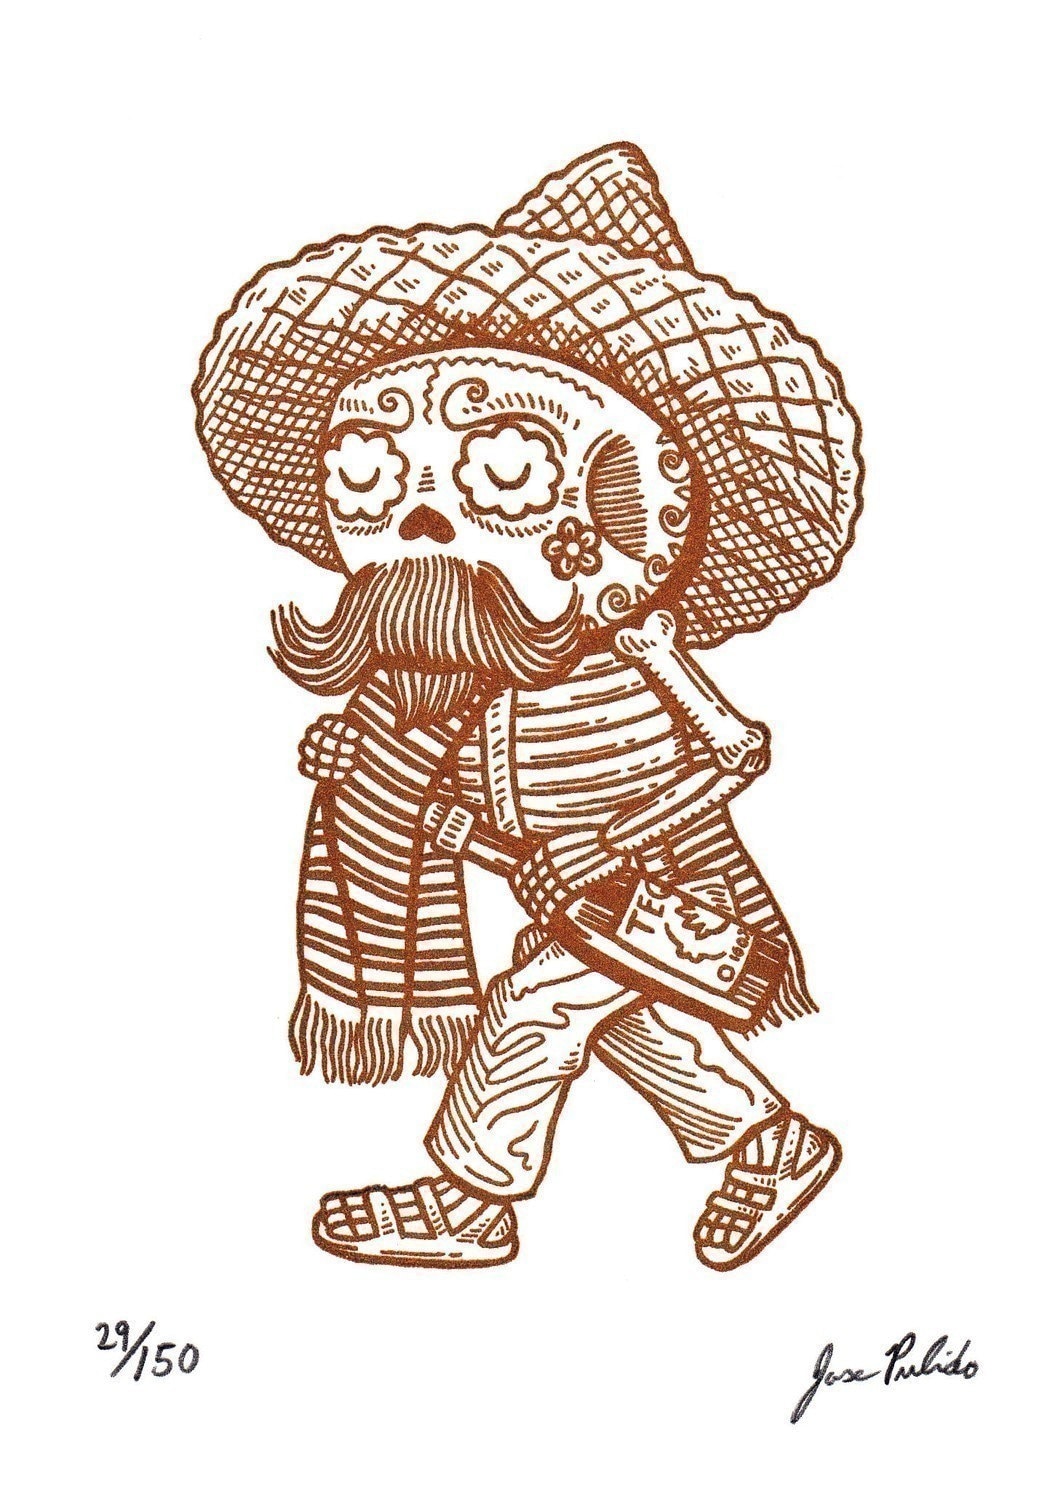
We also wanted to rep some fellow Dia de los Muertos artists, as well as fellow Etsy artists, so we put together a mini showcase for your viewing pleasure. Click on the photo to visit the Etsy store.

Also, we have a main site now up that features our Etsy shop and other online merchant details. You can check that out at here.
We also wanted to rep some fellow Dia de los Muertos artists, as well as fellow Etsy artists, so we put together a mini showcase for your viewing pleasure. Click on the photo to visit the Etsy store.
10.10.2010
Exciting News!
Calaveras is now on Zazzle and CafePress. We are only offering our logo and select designs (still to come) on the products in these stores, so you will still find the screenprinted unique items in our Etsy shop. But since we thought our logo looked pretty cool on that water bottle, and since we don't really have those capabilities, we couldn't resist. Please check these shops out in your free time, and let your friends who like Calaveras Apparel know :]
Zazzle Link
CafePress Link
Zazzle Link
CafePress Link
10.01.2010
Molding Tutorial Part 2
After a long unexpected hiatus, I am finally back and ready to post the second part of this tutorial. Hooray!
Take whatever object you have created out of Sculpey, or some other fairly non porous material, and set it down in the middle of the tin foil covered box you have made that fits it.

I am using the baby skull I created for this example. For the best results, your object should have a large flat side, because after we fill this box up with molding material, we need a way to pull out the object without destroying the mold. In this case, the base of the skull is flat, so that's how I orientated it in the box- flat side down.

Start mixing you mold material. The instructions come on the box of the OOMOO 30, and basically say to mix the two components in equal parts. But please be sure to read the directions fully before doing this, just so you know what to expect from the materials you are mixing.
 Thoroughly mix the components, and it should turn out this light purple color...
 Now this is the part where things start to get a little messy. Pour the mixture into the box with your object, trying not to displace the object from the center of the box.

It is important the object stays as close to the center of the box as possible so the resulting mold doesn't have weak walls in any part (if the mold is too thin in some parts, it tears more easily and only lasts for a few castings.)
 I used a pencil to make sure I hadn't displaced the skull (you are pretty much flying blind at this point in the process without feeling around with a pencil or something.) I did this as soon as the mold was poured as to not disturbed the curing process. Do it quickly so the mold can start to cure. It takes around 6 hours I believe to have a cured mold. Email me or leave comments with any questions you have about my process so far, and I'll try to the best of my knowledge to answer them. Next week I will describe my casting process, so please check back :D
Take whatever object you have created out of Sculpey, or some other fairly non porous material, and set it down in the middle of the tin foil covered box you have made that fits it.

I am using the baby skull I created for this example. For the best results, your object should have a large flat side, because after we fill this box up with molding material, we need a way to pull out the object without destroying the mold. In this case, the base of the skull is flat, so that's how I orientated it in the box- flat side down.

Start mixing you mold material. The instructions come on the box of the OOMOO 30, and basically say to mix the two components in equal parts. But please be sure to read the directions fully before doing this, just so you know what to expect from the materials you are mixing.
 Thoroughly mix the components, and it should turn out this light purple color...
 Now this is the part where things start to get a little messy. Pour the mixture into the box with your object, trying not to displace the object from the center of the box.
It is important the object stays as close to the center of the box as possible so the resulting mold doesn't have weak walls in any part (if the mold is too thin in some parts, it tears more easily and only lasts for a few castings.)
 I used a pencil to make sure I hadn't displaced the skull (you are pretty much flying blind at this point in the process without feeling around with a pencil or something.) I did this as soon as the mold was poured as to not disturbed the curing process. Do it quickly so the mold can start to cure. It takes around 6 hours I believe to have a cured mold. Email me or leave comments with any questions you have about my process so far, and I'll try to the best of my knowledge to answer them. Next week I will describe my casting process, so please check back :D
2.27.2010
Baby Calaveras are Finally Here- Molding Tutorial Part One
Mold making can look like a scary process before you jump in. I researched mold making compounds online, then went to a few art stores and asked lots of questions. Basically, it took me jumping into the process, cold feet and all, to really start to learn it. All the research just insured I didn't make a huge mess of my kitchen in the process.
First you need your materials. I decided to go with silicone molds because I needed the flexibility based off of what I planned on casting (the skull in the photo.) I chose OOMOO 30 by Smooth-On because the directions were the easiest, and turns out it's great to work with. It has a fast shore A hardness time, and you can remove the original object from the mold after it cures after only 6 hours. Works great for over ancy artists who just want the project started.

You also need some type of container that is larger than the object you want to mold. It's best to hand build these cointainers our of plastic board, which is what I did with the first mold I made. But to make this go a little faster, I found a box that was the right size and lined it with tin foil. These supplies were also easier to come by than plastic board :] The resulting mold still works great, it's just not as pretty.

Rounding up your materials is often the toughest part. You can find plastic board and Smooth-On materials at most art stores, and creating the object you want to mold takes the most creativity and time. What's cool though is when you are finished you can replicate your art many times, and get creative with it in many different ways. Next week I'll continue the process with mixing the silicone components, removing your object from the cured mold, and casting replicas.
Check back!
2.16.2010
Baby Calaveras and OOAK Statues
The baby calaveras are on their way! It's taking longer than we had hoped because of work and school, but we are making progress and the tutorial posts will be up so soon (yeah yeah, that was said before, but this time it's true...). Also, found some great antique statues that we are going to dress up Day of the Dead. They will be available in our Etsy store shortly.
Working on some new ideas for fine art fines, and some new silkscreen projects. We will post pictures when they hit the shop. If you have found any great Dia de los Muertos items that you would like to share with us, or blogs with similar sentiments, feel free to leave us a comment telling us about them! We would like to link out to some other great Day of the Dead sites/photos/items/blogs.
Working on some new ideas for fine art fines, and some new silkscreen projects. We will post pictures when they hit the shop. If you have found any great Dia de los Muertos items that you would like to share with us, or blogs with similar sentiments, feel free to leave us a comment telling us about them! We would like to link out to some other great Day of the Dead sites/photos/items/blogs.
1.29.2010
Custom Muertos Mary and Etsy Finds
Calaveras received its first custom order for a Muertos Mary Tealight. We are extremely excited about the project because it combines our customers ideas with our own. The idea is based off of our Muertos Mary statues like this one, only it's customized depending on the ideas of the customer, making an original collaboration that the customer can call his/her own.

If you are interested in ordering a custom Muertos Mary, please visit our Etsy store at CalaverasApparel.etsy.com.
Also, we are a big fan of our fellow Etsians and the time and craft they put into their work. Here are a few of our favorite artists on Etsy when it comes to tiny calaveras pieces.
The SkullQueen makes some beautiful traditional Dia de los muertos cake toppers.

When looking at well crafted figurines, I can't leave out RRMexicoSupply

And, the promised baby calaveras project is underway this weekend. Molding, painting, taking some photos of the process. I'll start the process journal on the project within the next week.
1.13.2010
Our Lady of Guadalupe- Day of the Dead Style
A Virgin Mary bust that I created a mold for from an old statue I found at the thrift store. I then made several castings out of plaster, sanded them, then painted them and voila, you have the finished project.

She is a tealight holder as well as a wall hanging. You can check out more photos of her at the Calaveras Apparel shop on Etsy by clicking here.
Please check back soon! The next post will be about my process when it comes to the Virgin Mary busts- I'll let you in on some newbie insider secrets that I learned from scouring the internet and talking with art store employees.
Also, keep an eye out for my new project: painted baby calaveras. Not real skulls, of course, but hand molded and hand-casted like the Marys. Hopefully I can document the mold making process when I start that project.
If you enjoy our Etsy store, please let your friends know about us! We would love to hear from you or them about what you think. Talk soon...!
1.06.2010
Process
Here are a few photos from the week that was Calaveras Apparel learning how to screen print. Lots of materials, lots of mistake, but in the end we produced great results. A photo of our first successful screen.

The screen for the shirts that we burned. Took us a few tries to get the emulsion right and took us more than a few tries to figure out the right kind of pressure used when flooding the screen and then pulling it but we finally got it down.

Here is a picture of the few tshirt prints we ran with the new design.

We have been using Speedball screen printing inks. We like the results they produce and since we are a small start up company, we like the fact they are water-based and easier to clean up.

Subscribe to:
Posts (Atom)